Description
Description
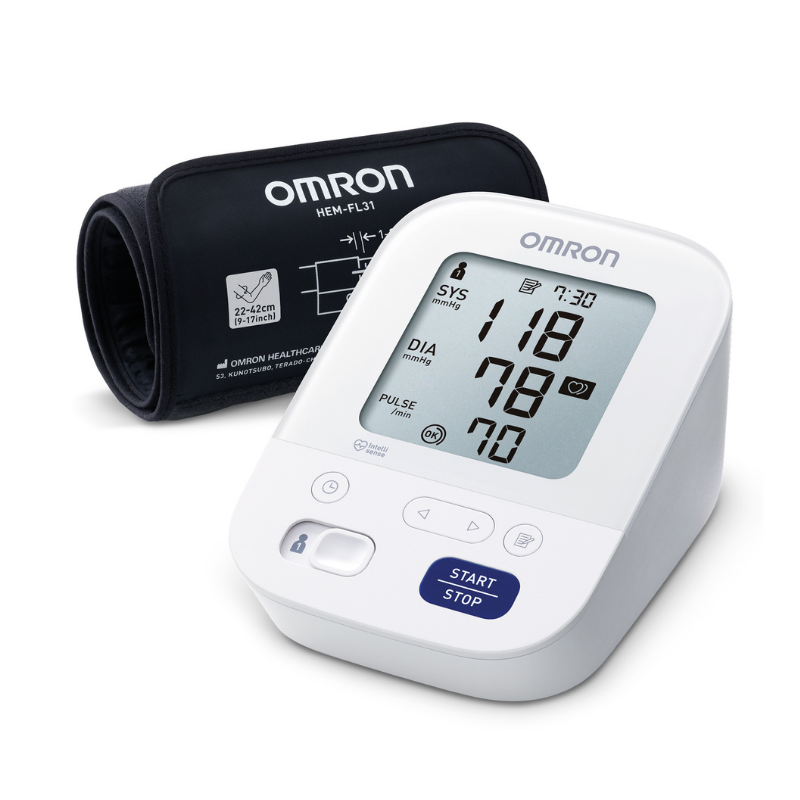
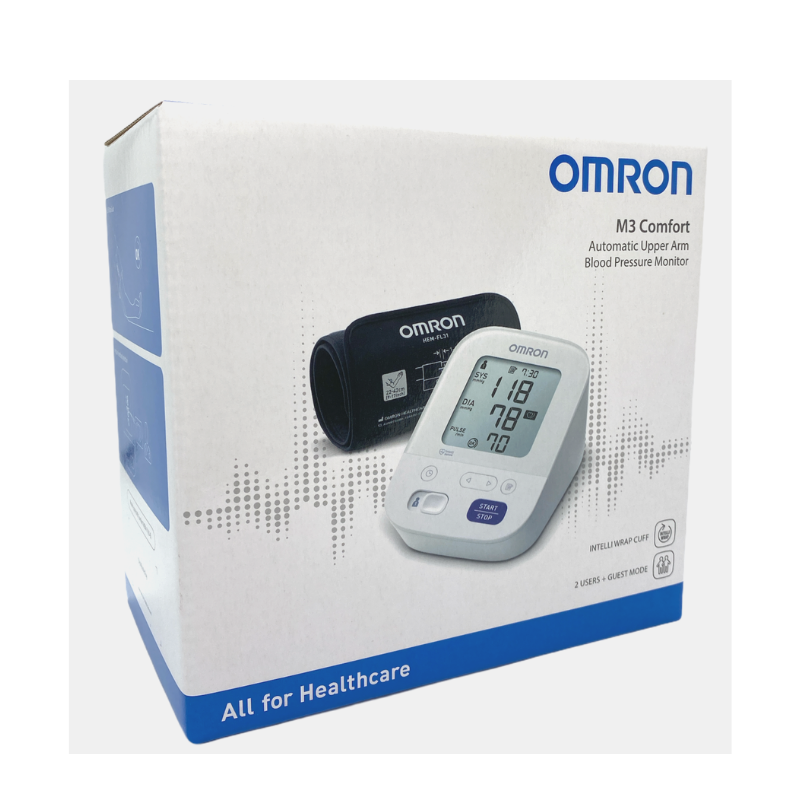
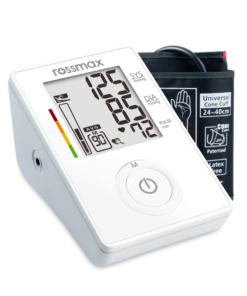
The Omron M3 Comfort Blood Pressure Monitor is a clinically validated blood pressure monitor that makes it easy to get clinical accuracy from the comfort of your own home. With your measurement, the M3 Comfort will indicate if you’ve moved too much, have an irregular heartbeat or hypertension. The blood pressure is manufactured from Omron, the number one recommended brand by cardiologists for home blood pressure monitors in Europe. The M3 comfort monitor is part of Omron’s latest range of upper arm home blood pressure monitors and has a new intuitive design that’s easy to use. The device can be used by two separate users and a guest and stores up to 60 readings per user. Once it’s taken your blood pressure reading the Omron M3 Comfort will display your heart rate and an indicator if it’s detected an irregular heartbeat or your blood pressure is above the recommended level – indicating hypertension.
The M3 comfort comes with Omron’s unique Intelli Wrap Cuff, which takes the hassle out of placing the cuff in the right position on your upper arm. As you measure, further help comes from the Cuff wrap guide, which will indicate you’ve correctly fastened the cuff. While measuring your blood pressure, you’ll need to sit still to ensure an accurate reading. However, if you do move, the body movement detector will let you know if there’s been too much movement, to avoid inaccurate blood pressure readings. Monitoring your blood pressure regularly can help you find the positive changes in your day to day life to keep your heart healthier for the future. The Omron M3 Comfort blood pressure monitor has Clinical Validation, Diabetic Validation and Pregnancy Validation.
Size: 105mm x 152mm x 85mm.
The Omron M3 Comfort Blood Pressure Monitor contains:
- M3 Comfort blood pressure monitor
- Intelli Wrap Cuff (22–42cm)
- Instruction Manual 1 and 2
- Batteries
- Storage Case
Uses
The Omron M3 Comfort Blood Pressure Monitor uses the oscillometric method of blood pressure measurement. This means this monitor detects your blood movement through your brachial artery and converts the movements into a digital reading. This device is intended for use in measuring blood pressure and pulse rate in the adult patient population. The device detects the appearance of irregular heartbeats during measurement and gives a warning signal with readings. It is mainly designed for general household use.
Application
Battery Installation:
• Remove the battery cover
• Insert 4 “AA” batteries as indicated in the battery compartment
• Replace the battery cover
• When the depleted battery symbol appears on the display, turn the monitor off and remove all the batteries
• Replace with 4 new batteries at the same time – Long life alkaline batteries are recommended
• The measurement values continue to be stored in memory even after the batteries are replaced
Setting the Date and Time:
• Set the monitor to the correct date and time before taking a measurement for the first time
• Press the clock button
• Push the arrows to change the year
• Push button to confirm the year and then the month flashes
• Repeat the same steps to change the month, day, hour, and minute
• Press the START/STOP button to turn the monitor off
• If the batteries have been replaced, the date and time setting will need to be reset
• If the date and time are not set, “-:–” appears during or after measurement
Applying the Arm Cuff:
• Remove tight-fitting clothing or tight rolled up sleeve from your left upper arm – do not place the arm cuff over thick clothes
• Insert the air plug into the air jack securely
• Apply the arm cuff to your left upper arm
• The bottom edge of the arm cuff should be 1 to 2 cm above the elbow and the cuff should be positioned on the upper arm with the air tube pointing towards your hand
• Secure closed with the fabric fastener
• When you take a measurement on the right arm, the air tube will be at the side of your elbow – be careful not to rest your arm on the air tube
• The blood pressure can differ between the right arm and the left arm, and the measured blood pressure values can be different, so Omron recommends to always use the same arm for measurement
• If the values between both arms differ substantially, please check with your physician which arm to use for your measurements
How to Sit Correctly:
• To take a measurement, you need to be relaxed and comfortably seated, under comfortable room temperature
• Avoid bathing, drinking alcohol or caffeine, smoking, exercising or eating 30 minutes before taking a measurement
• Sit on a chair with your legs uncrossed and your feet flat on the floor
• Sit upright with your back straight
• Sit with your back and arm being supported
• The arm cuff should be placed on your arm at the same level as your heart
Taking a Measurement:
• Remain still while taking a measurement
• The monitor is designed to take measurements and store the measurement values in the memory for 2 people using User ID 1 and User ID 2
• Select your User ID (1 or 2)
• Press the START/STOP button and the arm cuff will start to inflate automatically
• Remove the arm cuff
• Press the START/STOP button to turn the monitor off
• The monitor automatically stores the measurement result in its memory and will automatically turn off after 2 minutes
• Wait 2-3 minutes before taking another measurement – waiting between measurements allows the arteries to return to the condition prior to taking a measurement
• To stop a measurement, press the START/STOP button once to release the air in the arm cuff
If your systolic pressure is more than 210 mmHg:
• After the arm cuff starts to inflate, press and hold the START/STOP button until the monitor inflates 30 to 40 mmHg higher than your expected systolic pressure
• The monitor will not inflate above 299 mmHg
• Do not apply more pressure than necessary
Using the Guest Mode:
• The monitor stores measurement values for 2 users in the memory
• The guest mode can be used to take a single measurement for another user
• No measurement values are stored in the memory when the guest mode is selected
• Press and hold the START/STOP button for more than 3 seconds
• The User ID symbol and the Date/Time display will disappear
• Release the START/STOP button when the Date/Time display turns off
• The arm cuff will start to inflate automatically
Using the Memory Function:
• The monitor automatically stores the results up to 60 sets for each user (1 and 2)
• It can also calculate an average value based on the last 3 measurement values taken within 10 minutes
• If there are only 2 measurement values in the memory for that period, the average will be based on these 2 values
• If there is 1 measurement value in the memory for that period, this is displayed as the average
• If the memory is full, the monitor will delete the oldest value
• When viewing the measurement value taken without setting the date and time, “-:–” is displayed instead of the date and time
To View the Measurement Values Stored in Memory:
• Select your User ID (1 or 2)
• Press the paper and pen button
• The Memory number appears for a second before the pulse rate is displayed
• The newest set is numbered “1”
• Press the arrow buttons to view the values stored in memory
• To view the older values, press the arrow pointing to the left
• To view the more recent values, press the arrow pointing to the right

