Description
Description
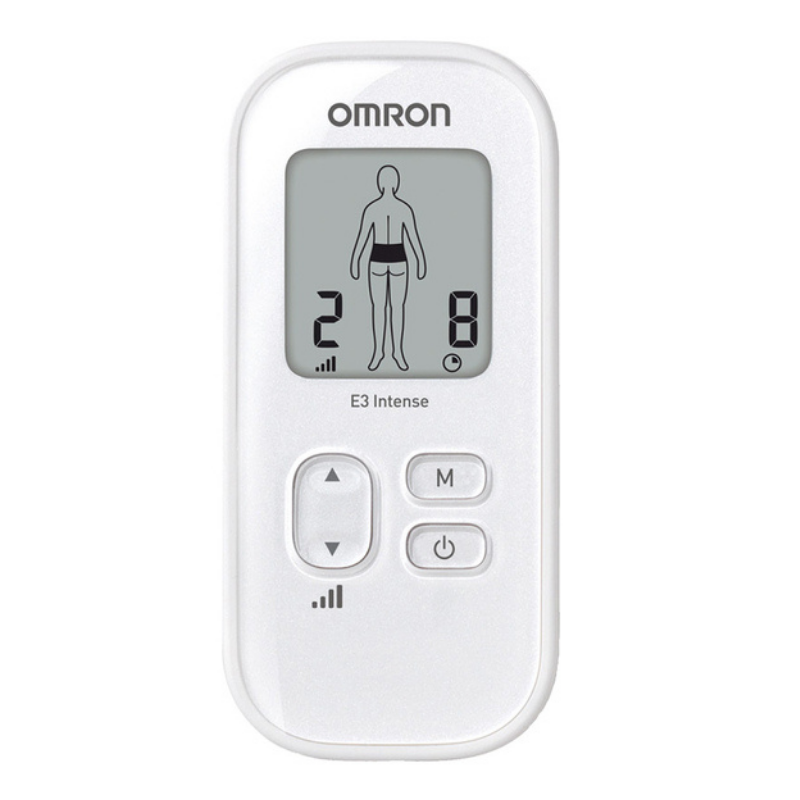
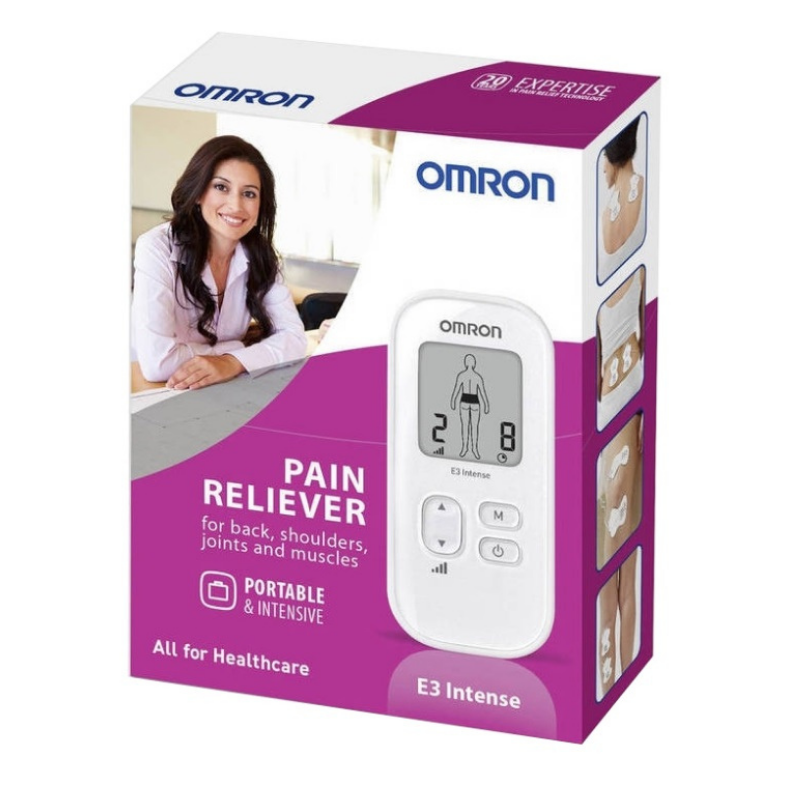
The Omron E3 Pain Reliever is a drug-free pain reliever, with pre-set programs for back, shoulders, joints and muscles. The device is based on TENS (Transcutaneous Electrical Nerve Stimulation) technology, which is clinically proven and widely used by physiotherapists and pain specialists. The E3 Pain Reliever features a compact design for use at home, work or travelling by plane and train. The device is intuitive and easy to use. With a large display, you can easily choose a programme and see the remaining treatment time at a glance.
There are 6 pre-programmed zones that you can choose from, including back, shoulders, joints, arms, legs, sole or feet and one can adjust the intensity level which suits best. There are also 3 massage modes – tap, knead and rub. This device uses Triple Action TENS (Transcutaneous Electrical Nerve Stimulation) technology that helps to block the pain message, trigger the release of endorphins (natural pain killers) and improve the blood circulation (as result of repeated muscle contracting and relaxing). The E3 Pain Reliever comes with long life pads that are reusable up to 150 times.
Size: 52mm x 25mm x 112mm.
The Omron E3 Pain Reliever contains:
- E3 Intense unit
- 1 x set of pads
- 1x set of batteries
- Cable
- Pad Holder
- Instruction Manual
Uses
The Omron E3 Pain Reliever is intended for reducing and relieving muscles and joints pain, stiffness and numbness in the back, arms, legs, shoulders and feet by applying electrical nerve stimulation to the surface of the skin near the site of the pain. It should be applied to normal, healthy, dry, and clean skin of adult patients.
Since the 1970’s, pain relief based on TENS has been widely used by many healthcare professionals, such as physiotherapists and pain specialists. This unit is intended to be operated by adults for home use.
Application
Assembly Steps:
• Remove the battery cover on the back using a coin
• Insert batteries
• Make sure the signs correspond when inserting batteries
• Reinstall the battery cover and tighten with a coin
• Attach the electrode cord plug to the bottom of the main unit
• Take the pads out of the sealed package
• Snap either electrode cord to each of the pads
• Remove the clear plastic film from the back of the pad
• Discard the plastic film backing as well as the clear packaging
Pad Placement:
• Use for a maximum of 2 x 15 minutes per session
• Place pads on either side of the pain, not directly on the pain
• Place 2 pads at least 3 cm apart
• Do not overlap pads or put on top of each other
• Do not add spray, lotions or creams to skin or pads
• Do not share pads
• Before starting your therapy, rate your pain from 1 low to 15 high – this mental check gives you a basis you can compare to once the session is complete.
Lower Back:
• Attach both pads on the lower back according to your pain
• Place pads on muscle of back, not on spine, for optimal therapy
• Attach 1 pad below and above the region in pain, both on same side
Arm:
• Attach both pads on either side of the area with pain
Joint (Elbow):
• Attach both pads on either side of the joint with pain
Joint (Knee):
• Attach both pads above the knee or above and below the joint with pain
Leg (Hip & Thigh):
• Attach both pads on either side of the area with pain
Leg (Calf):
• Attach both pads on the calf with pain
• Pads should not be placed simultaneously on the calves of both legs
Foot (Ankle):
• Attach the pads on the left for pain on the outside of your ankle/foot
• Attach the pads on the right for pain on the inside of your ankle/foot
Shoulder:
• Attach both pads on the shoulder according to your pain
• Attach 1 pad on the front and on the back of your shoulder
• Do not use near the heart, on both sides of the thorax or across your chest because the introduction of electrical current may cause rhythm disturbances which could be lethal
Turning the Device on:
• Push the power button
• Choose 1 of the 9 modes
• Massage-like modes = 1. Tapping, 2. Kneading & 3. Rubbing
• Pain modes = 4. Arm, 5. Lower Back, 6. Leg, 7. Foot, 8. Joint (Knee/elbow/wrist) & 9. Shoulder
• Modes cannot be combined
Switching Modes:
• The unit automatically defaults to the last mode selected
• Each time you push the mode button (“M”), it switches to the next mode at the lowest intensity
• You can only use one mode at a time
Selecting the right mode:
• Any of the modes can be used on body parts or pains described in the instruction manual
• Select the mode that feels right for your unique pain
Selecting the correct intensity level:
• Start at the lowest intensity level and slowly increase it by pushing the upward arrow button
• You should feel a gentle pulsing sensation
• Each time you push the upward or downward arrow, it moves to another level
• If the stimulation sensation becomes weaker or disappears, increase the intensity until it is restored
• If the sensation is at all uncomfortable, press the downward arrow to decrease the intensity
• Press the upward arrow for higher intensity
• Press the downward arrow for lower intensity
• The unit will continue automatically for 15 minutes before it shuts off
• Omron recommends a total of 2 × 15 minutes therapy in one sitting, up to 3 times/day
• The screen shows you how many minutes are remaining


